ChatOps for GitHub Actions
“ChatOps” is a term widely credited to GitHub, referring to the practice of performing operations by typing commands in chat messaging applications.
While GitHub Actions has many ways to trigger workflows based on events that occur in a repository, it doesn’t have a particularly straightforward way to manually trigger a workflow.
Manually triggering workflows
You can trigger workflows manually by configuring them to listen for the repository_dispatch event, and then sending a call to the GitHub API. I found myself using this method a lot to test actions I was developing. The main problem with this was the awkwardness of calling the API using curl.
Another way to trigger workflows is to configure a workflow on the issue_comment event and parse slash commands from the comments. However, in repositories with a lot of activity, the workflow queue gets backed up very quickly trying to handle new issue_comment events and process the commands themselves.
I wanted to develop something that was a combination of these two methods.
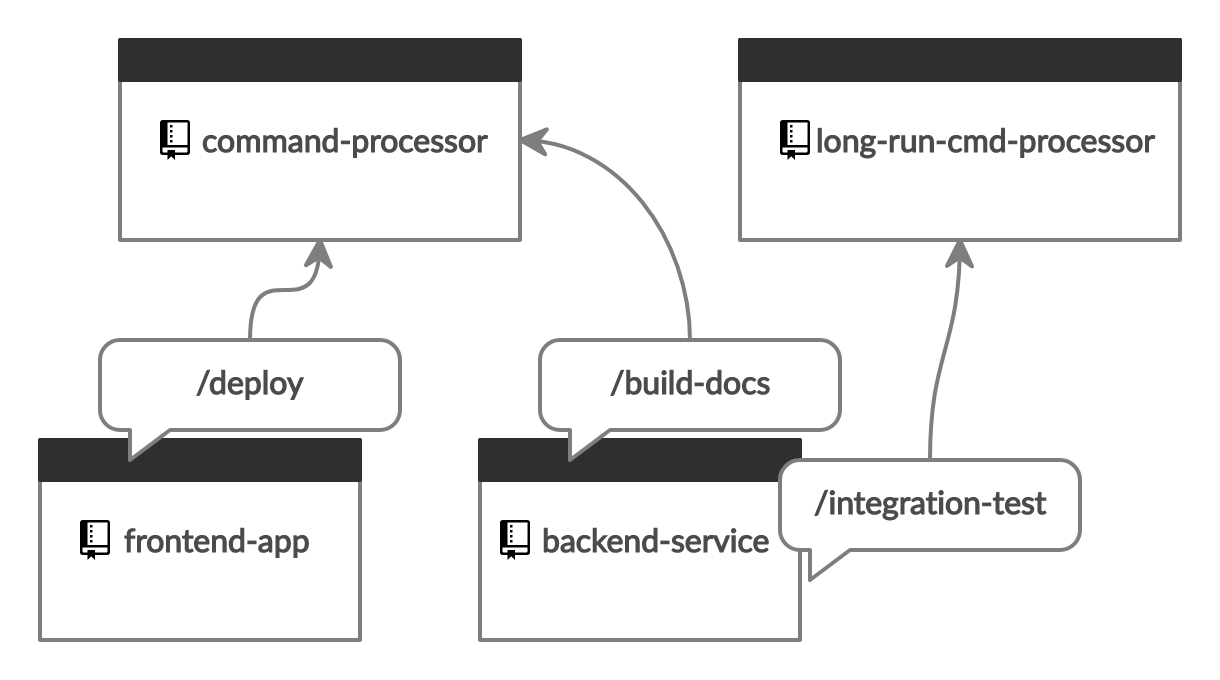
Slash Command Dispatch
Slash Command Dispatch is a GitHub action that facilitates “ChatOps” by creating repository dispatch events for slash commands.
The action runs in issue_comment event workflows and checks comments for slash commands. When a valid command is found it creates a repository dispatch event that includes a payload containing full details of the command and its context.
Dispatching commands to be processed elsewhere keeps the workflow queue moving quickly and essentially enables parallel processing of workflows.
Demos
See the demos section of the slash-command-dispatch README for a number of live demos.
Getting started
Follow this guide to get started with a working /example command.
Command processing setup
-
Create a new repository called, for example,
slash-command-processor. This will be the repository that commands are dispatched to for processing. -
In your new repository, create the following workflow at
.github/workflows/example-command.yml.name: example-command on: repository_dispatch: types: [example-command] jobs: example: runs-on: ubuntu-latest steps: - name: Add reaction uses: peter-evans/create-or-update-comment@v1 with: token: ${{ secrets.REPO_ACCESS_TOKEN }} repository: ${{ github.event.client_payload.github.payload.repository.full_name }} comment-id: ${{ github.event.client_payload.github.payload.comment.id }} reaction-type: hooray
-
Create a
reposcoped Personal Access Token (PAT) by following this guide. -
Go to your repository
Settings->SecretsandAdd a new secret.Name:
REPO_ACCESS_TOKENValue: (The PAT created in step 3)
Command processing setup is complete! Now we need to setup command dispatch for our /example command.
Command dispatch setup
-
Choose a repository or create a new repository to dispatch commands from. This will be the repository where issue and pull request comments will be monitored for slash commands.
In the repository, create the following workflow at
.github/workflows/slash-command-dispatch.yml.Note: Change
your-github-username/slash-command-processorto reference your command processor repository created in the previous section.name: Slash Command Dispatch on: issue_comment: types: [created] jobs: slashCommandDispatch: runs-on: ubuntu-latest steps: - name: Slash Command Dispatch uses: peter-evans/slash-command-dispatch@v2 with: token: ${{ secrets.REPO_ACCESS_TOKEN }} commands: example repository: your-github-username/slash-command-processor
-
Create a new
reposcoped PAT, OR, use the one created at step 3 of the previous section. -
Go to your repository
Settings->SecretsandAdd a new secret.Name:
REPO_ACCESS_TOKENValue: (The PAT created in step 2)
Command dispatch setup is complete! Now let’s test our /example command.
Testing the command
-
Create a new GitHub Issue in the repository you chose to dispatch commands from.
-
Add a new comment with the text
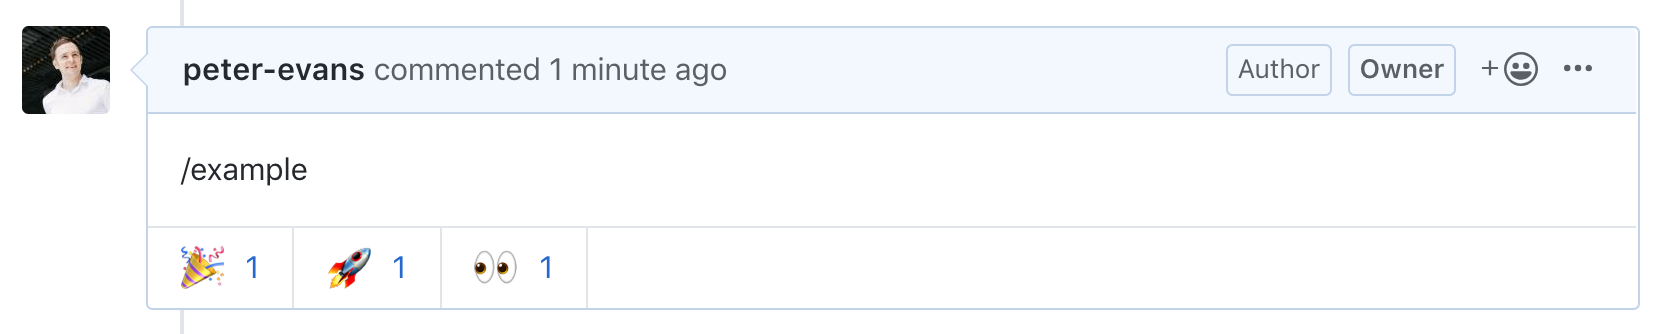
/example.
Once the command completes you should see all three reactions on your comment.
Now you can start to tweak the command and make it do something useful!